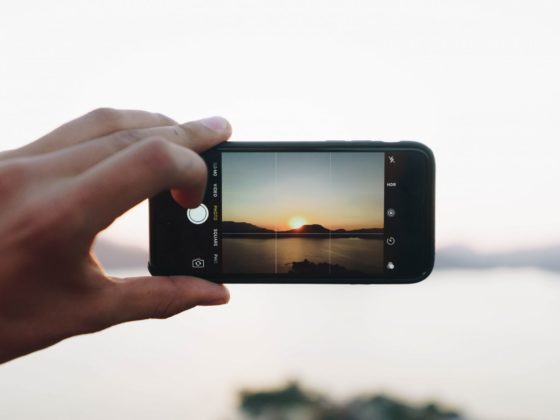
Hold It Steady
Most phones have built in stabilisers these days so little shakes from your hand will go unnoticed, but lots of big movements, panning all over the place or just not paying attention to what you are filming will look amateurish straight away. If you need to pan around, make it slow, smooth and deliberate. If you have a tripod and phone mount then even better.
Get Close for Sound
Stand as close as possible to your subject if you want to get decent sound from them – don’t just zoom in from a distance. This way the microphone will pick up the best possible sound from their voice, rather than all the noise around them. Also, find somewhere quiet in the first place!
Find Good Light
Even though many phones can shoot video in near darkness, the results look grainy and low quality. Use good natural light if possible, have a subject near a window to light them but don’t film them against it or they will go into silhouette. If you are inside at night, move some floor lamps around to do some impromptu cinematography.
Ultra High Resolution Video
If your phone can shoot in 4k, then use it! It’s unlikely you’ll want your final video to actually show in 4k on YouTube as HD is usually just fine, but filming in this resolution means you can zoom in/crop your interview or any other footage up to 2x without losing quality. So, for an interview this means you essentially get a mid-shot and close-up all together without using two cameras. Therefore you can cut together different pieces of the interview without seeing the dreaded jump cut by going from mid-shot to close-up and back again.
Think in Sequences
If you are going to edit your video, think what shots you will need to make a sequence. You don’t need to complicate things but imagine a person walking into a room for an interview, you could film them with 3 shots: Walking towards you, a reverse walking away and then a close up of their hand opening and walking through the door into the interview room. Over these arrival shots you could have the sound of the start of the interview, then cut to the interview footage afterwards.
Direction of movement matters a lot to prevent the edit being confusing. If you have someone walking towards you and they leave the frame screen right, when you cut to a reverse of them walking away from you, they should enter screen left. This is called the 180 degree rule and a quick google of this term will result in a lot of information covering many different situations.

